How to Stack Sandbags: A Practical Barrier Guide
A sandbag barrier is a small construction job: its strength comes from a clean base, tight overlapping courses, and careful attention to the ends.
Before you lift the first bag
Sandbags are more effective when they are part of a safe, realistic response. First decide what you are trying to protect and whether the location is safe to work in. Do not build in fast-moving water, near exposed electrical equipment, or where vehicles can strike the crew. Clear loose debris from the placement line and sweep the surface as clean as practical. A barrier placed across sticks, ice, or uneven junk will develop gaps. Mark the route of the wall from one high or stable point to another; water seeks the ends, so a short line that stops before the vulnerable area may divert rather than block the flow.
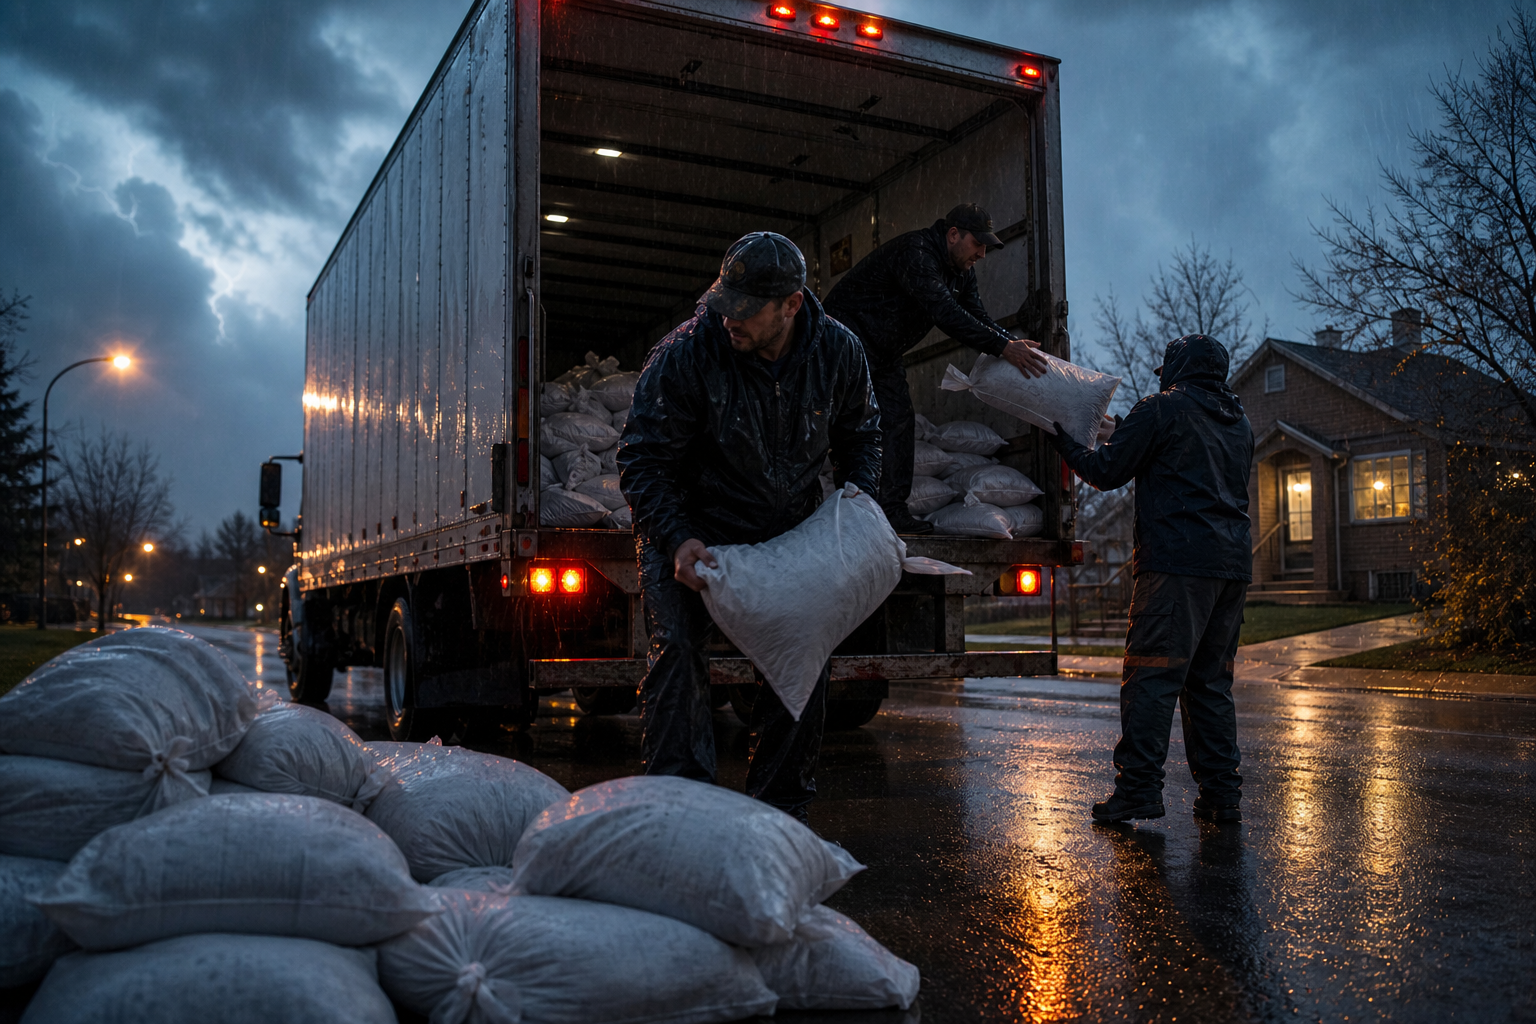
Use gloves and footwear with reliable traction. Pre-filled bags from Edmonton Sandbags weigh 18 kg, so larger projects should use two or more people, with one person feeding bags and another aligning the course. Avoid twisting while holding a bag. Set it down close to its final position, then drag or nudge it into place. The product is a hessian bag filled for use, sold at $4.99 each with a minimum of 10. Estimate length and height before you order, then leave a margin for turns, ends, and a second course. You can request an order through the quote page.
Build the base course deliberately
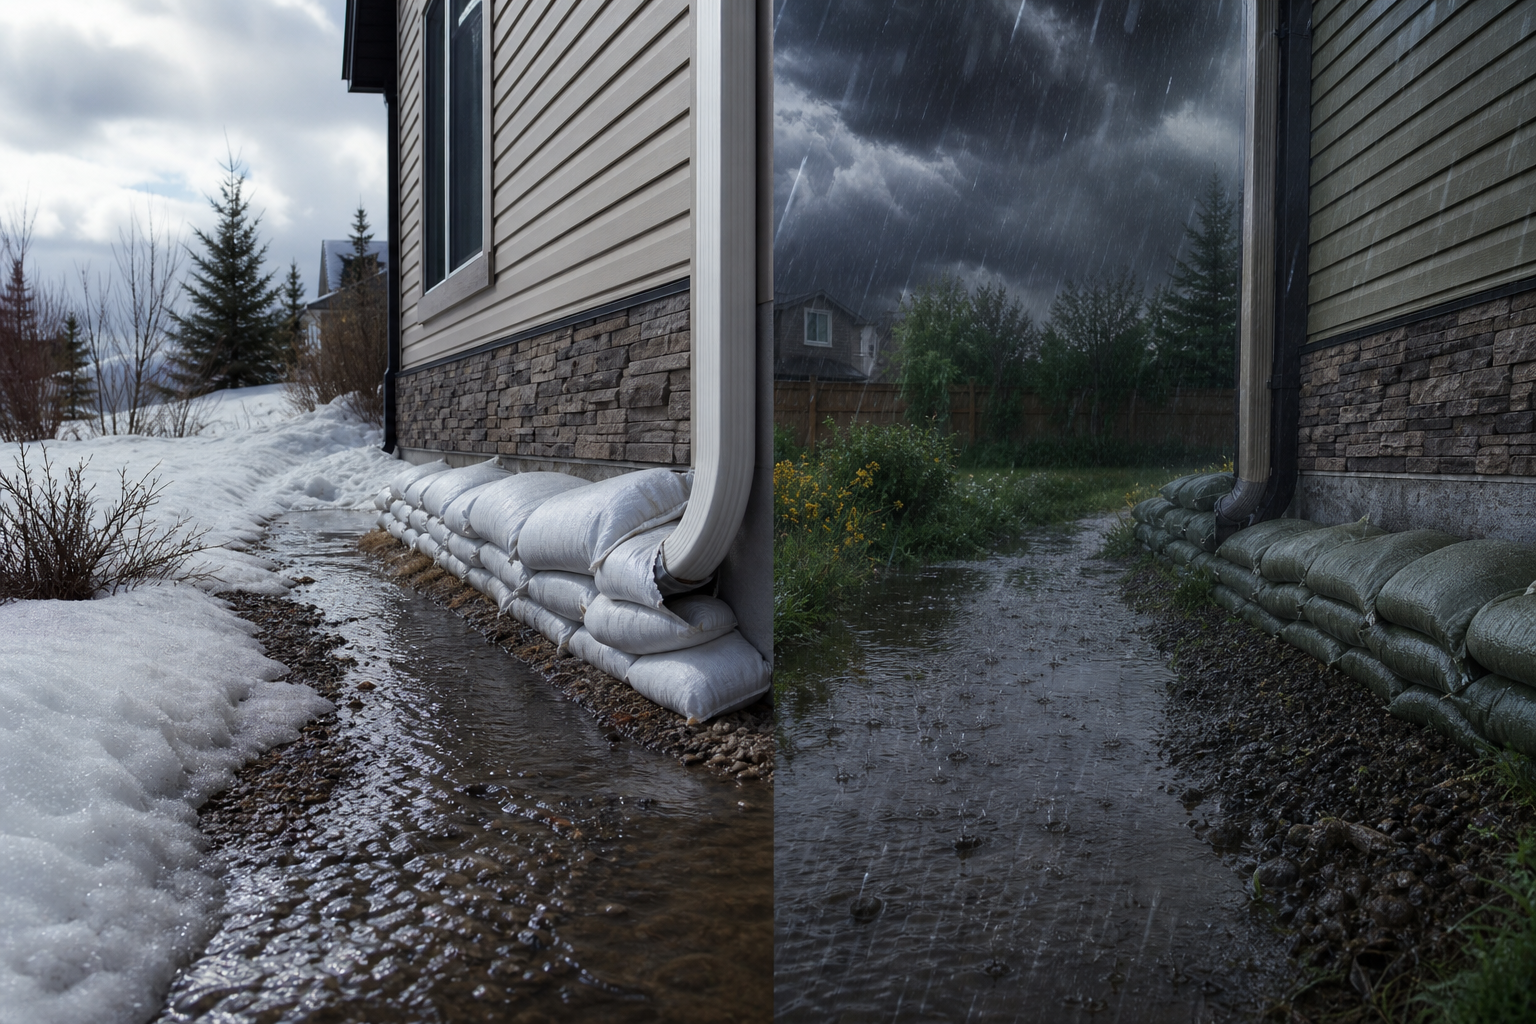
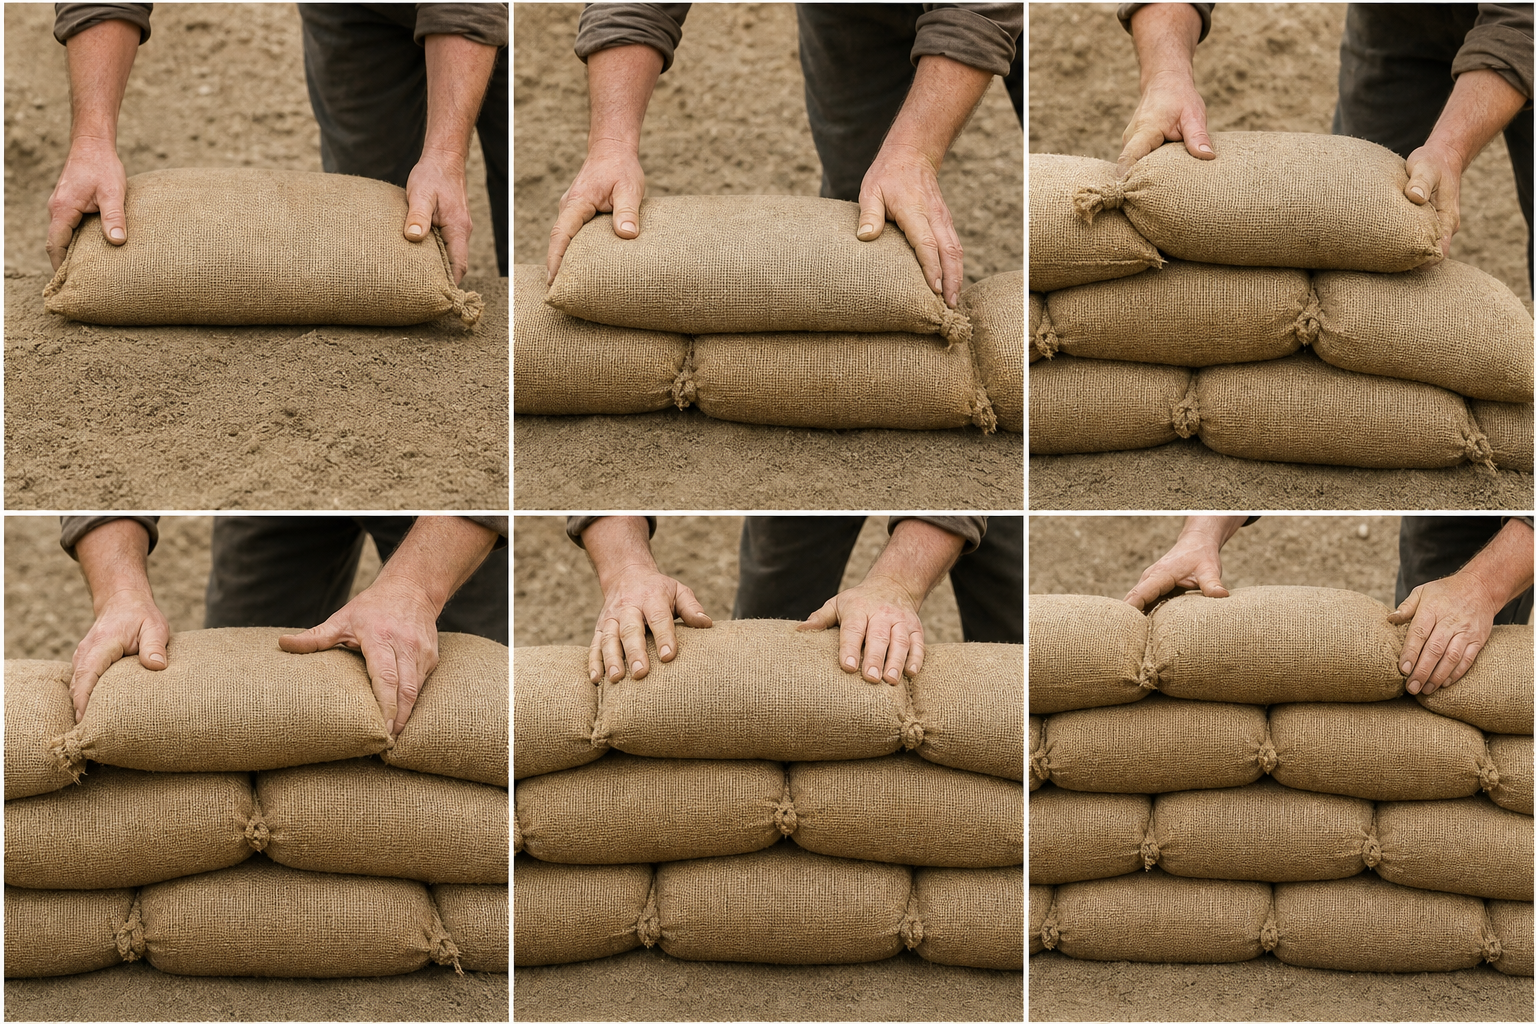
Lay the first row on the prepared ground with the long side of each bag following the wall. Place bags tightly together and overlap the closed ends slightly, much as shingles overlap on a roof. Do not simply line up every seam from front to back; a continuous seam makes an easy route for water. Flatten each bag gently so it settles and fills its footprint. The aim is a broad, stable course with as few voids as possible.
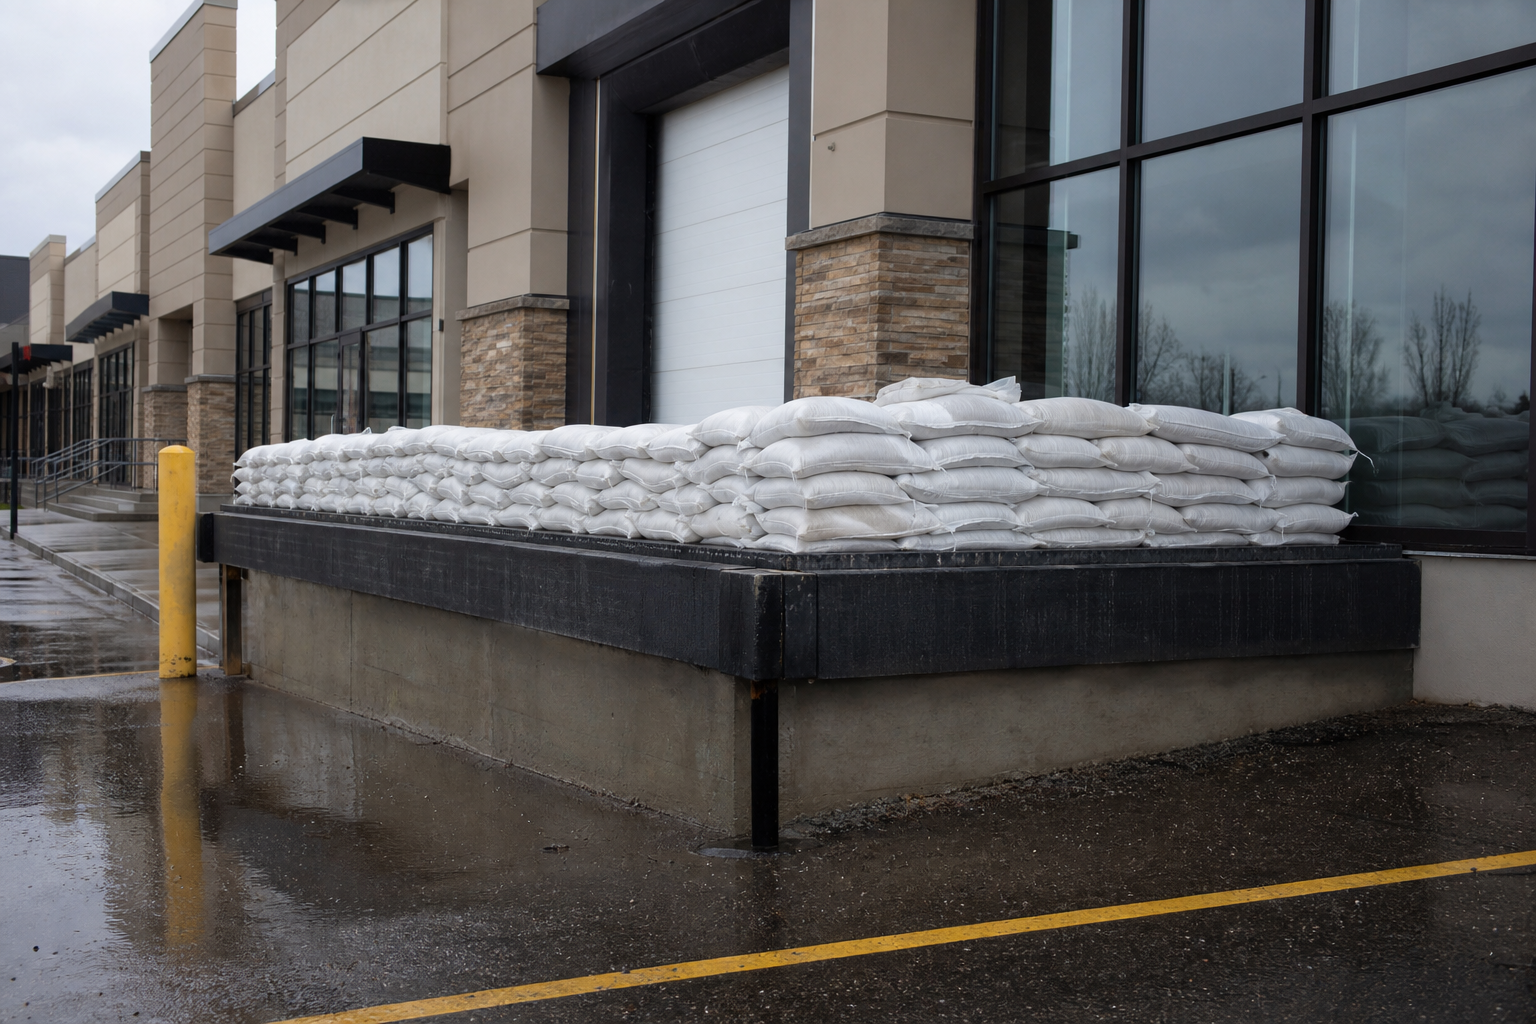
At a doorway, extend the barrier well beyond both sides of the opening where the ground and building geometry permit. At a driveway or ramp, turn the ends uphill or toward a stable edge instead of leaving them square to approaching water. For a wall on soft ground, make the base wider than the top. This extra width is not wasted material; it resists shifting and gives the higher layers something solid to bear on.
Overlap every course
Place the second course so each bag bridges the joint between two bags below it. This is the same principle as brickwork: staggered joints distribute pressure and reduce straight gaps. Align the bags tightly, then press them down with a foot or hand while maintaining balance. Continue alternating the joint positions as you add height. If a bag tears or has lost enough fill that it no longer forms a solid unit, set it aside rather than forcing it into a critical course.
A low barrier may need only one or two courses, but do not assume taller is automatically better. The wall needs a stable shape and must be built before conditions become dangerous. Check the water path around the wall as you work. It may be necessary to lengthen the barrier rather than increase its height. Watch for drains, cracks, thresholds, and utility penetrations that can let water bypass your new wall.
Use a pyramid profile for height
For a barrier that must rise above a few courses, create a stepped pyramid. The bottom should be the widest section, with each higher course set slightly inward. A simple triangular cross-section keeps the centre of mass low and reduces the chance that the face bulges outward. Build evenly along the length instead of raising one small section far above the rest. An uneven wall creates weak transitions and can make it difficult to tie the ends into the ground.
As the height grows, reassess safety. Bags are heavy, wet surfaces are slippery, and lifting above waist height increases strain. Do not climb an unstable sandbag wall. Use a helper, a safer work position, and an appropriate method for passing bags if the project warrants it. A barrier is not a dam engineered for deep or fast water. If conditions exceed what a small temporary wall can handle, move people away, protect critical items only if it is safe, and seek appropriate emergency guidance.
Add poly sheeting on the water side
Poly sheeting can improve a barrier by directing water toward the sandbags rather than allowing it to work through small surface openings. Place the sheeting on the side facing the water, run it up and over the top of the wall, and extend it onto the dry side. Use sandbags along the edge to hold it in place. The sheet should lie as smoothly as possible; folds and punctures create paths for water. Do not cut it too short at the bottom. Give it enough material to lie on the ground in front of the wall, where the first course can help pin it.
Sheeting is not an excuse for loose stacking. It must be supported by a compact barrier with stable ends. Check that the sheet reaches past the wall’s turns and that water cannot simply travel behind it. If the surface is rough, protect the sheet from sharp objects before placing it. Keep the dry-side edge secured but avoid arrangements that create a tripping hazard for people who must move nearby.
Common mistakes to avoid
The most common error is a single thin row with butt joints. It may look tidy but has seams that align directly with water pressure. Another mistake is leaving gaps at the building wall or at the ends. Press bags against stable surfaces and overlap corners, while understanding that irregular details may need additional material. Do not place a barrier over an active drain without considering where water will go; blocked drainage can cause a problem elsewhere.
People also underestimate time and labour. A barrier assembled in daylight with help is safer than a rushed one in darkness. If you need to collect more bags, Edmonton Sandbags provides 24/7 pickup at 4315 118 Ave NW, Edmonton, AB T5W 1A5, and can be reached at 1-888-552-7263. Plan the vehicle load and lifting crew before departure.
Inspect while water is present
From a safe dry position, inspect the barrier periodically. Look for settling, bulges, water flowing around ends, and movement of the poly. Add bags where the wall has compacted or where a new path appears, but never place yourself in dangerous conditions to save property. After the event, document the barrier’s performance and note the spots that needed reinforcement. That record makes the next stack faster, safer, and better matched to the location.
FAQ
Should sandbag seams line up?
No. Stagger each course so a bag bridges the joint between two bags below it.
Where does poly sheeting go?
Place it on the water-facing side, run it over the wall, and secure the edges with sandbags.
How heavy are the bags?
Edmonton Sandbags' pre-filled hessian bags weigh 18 kg; use safe lifting practices and a team for larger work.